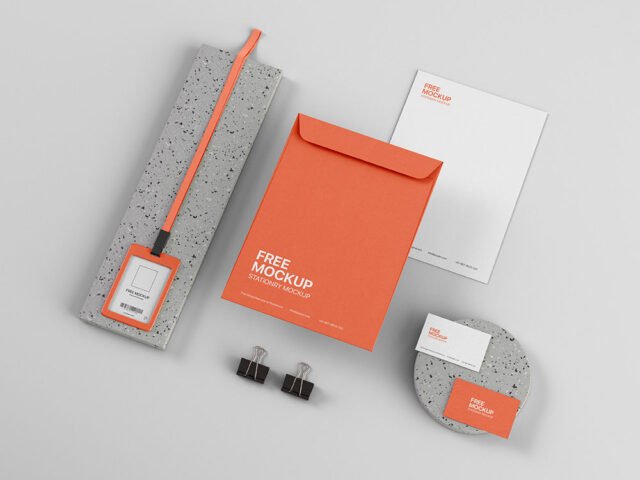
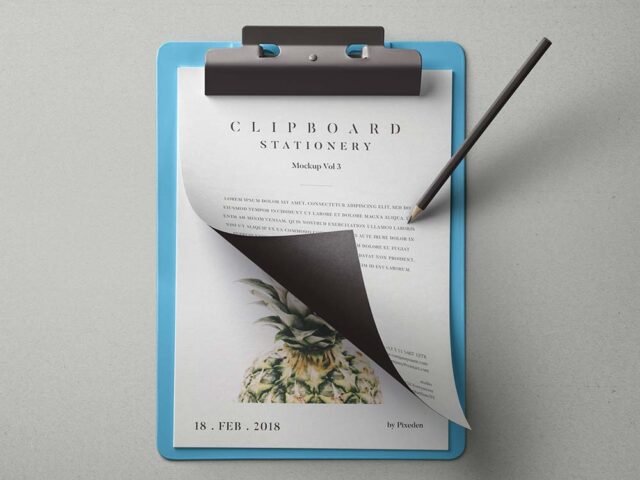
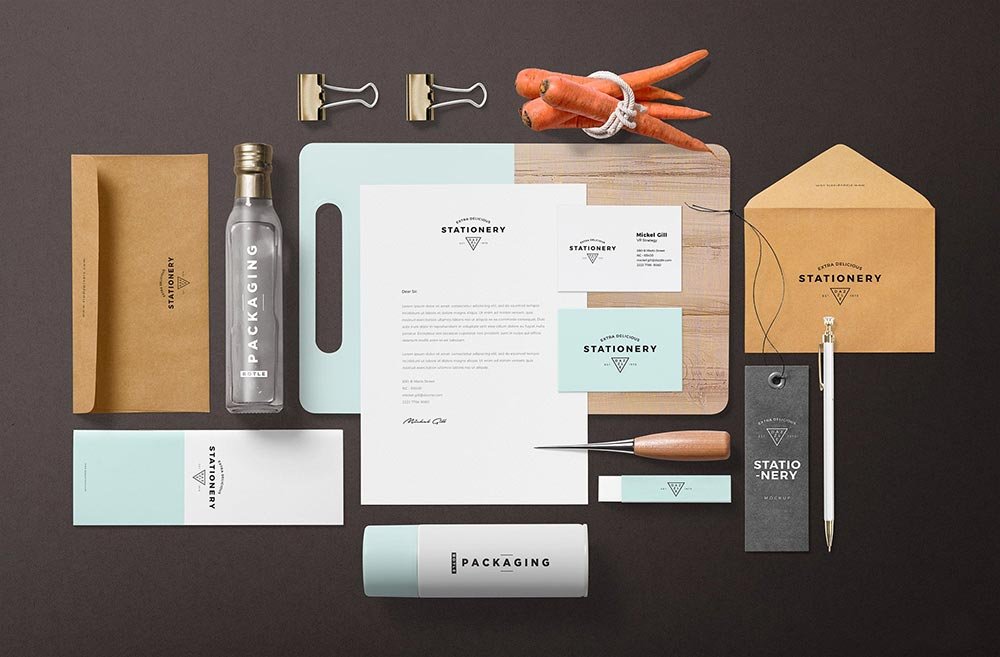
PSD Branding Mockup Scene
What's inside
- Applications Photoshop
- File Types PSD
- License Free (see author's terms)
- Author Zippypixels
If you’re presenting a full brand identity, this branding mockup makes the idea feel real before anything is produced.
Freelance designers and design students tend to get the most out of files like this. Tip: use the same margins on every item in the set; it’s the detail that makes an identity look designed rather than assembled.
Seeing a layout on a real stationery set is also the easiest way to catch problems early. A phone number that looked fine on screen can turn out too small once it sits on paper. For a complete brand board, show it next to a business card and a notebook.
The file is made by Zippypixels. The download button takes you to their page, where you get the original file and the licence details.
What’s inside the Branding Mockup Scene PSD
Main things you can change in Photoshop:
- Your design, placed through the smart object
- Front and back artwork, where both sides are shown
- Shadows and highlights on their own layers
- Paper or background colour
How to use the Branding Mockup Scene
- Export your artwork as a high-resolution PNG or JPG, around 300 ppi at print size.
- Open the PSD in Photoshop and find the smart object layer, usually named “Your Design” or “Place Here”.
- Place your design, hide the sample artwork, save, and go back to the main file.
- Change the background or paper colour with the colour layer.
- Save a JPG for clients and social media, and keep the PSD for later changes.
Keep text at least a few millimetres from the edge. The mockup shows the trim, and cramped margins read as a mistake.
Where the Branding Mockup Scene works best
- Show a full brand identity on your online shop or product page.
- Show letterhead, card and envelope to a client before it goes to print or production.
- Make two or three colour versions of a brand guideline cover and let the client pick.
Before you download
- Made by Zippypixels. The download size and format are listed on their page.
- Built for Adobe Photoshop. A recent CC version handles the smart objects best.
- The preview shows the angle, background and lighting you’ll get.
- Some free mockups ask for credit when you post them. A short line in your caption is enough.
Browse more free stationery mockups on Artistic Orbit, with new files added every day.
Questions about this mockup
Is it free for commercial use?
That depends on the author's terms. The download page lists what is allowed; when in doubt, ask the author directly.
How do I add my design?
Open the file in Photoshop, double-click the smart object thumbnail, paste or place your artwork in the new tab, save it (Ctrl/Cmd + S) and close. The main file updates on its own.
Which Photoshop version do I need?
A recent Photoshop CC version is best. Older versions can open the file but sometimes have trouble with smart objects and effects.
Can I show both sides?
It depends on the file. Many print mockups include a front and a back smart object; the preview usually shows whether both sides are visible.