How to Use a PSD Mockup in Photoshop (Smart Objects, Step by Step)
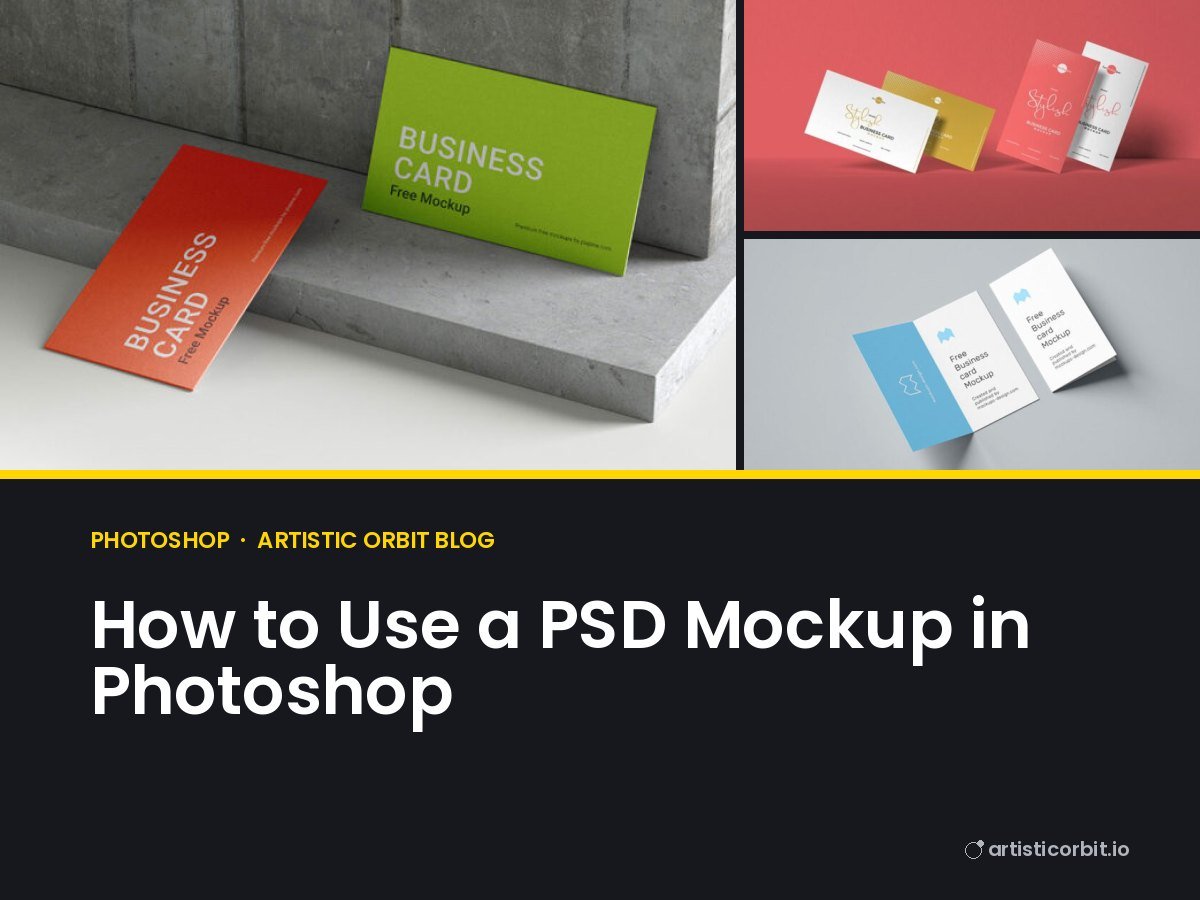
A mockup file looks complicated when you first open it. Forty layers, folders inside folders, names like “Shadow copy 3”. The good news is you only need to touch one or two of them. Everything else is there to make the scene look real, and it will do that on its own.
This guide walks through the whole thing with a normal free PSD mockup, the kind you’ll find all over Artistic Orbit. If you’ve never used one before, you’ll have a finished image in about five minutes.
What you need before you start
- Adobe Photoshop. Any version from the last few years works. Mockups are built around smart objects, and those have been in Photoshop for a long time.
- Your design as a PNG, JPG, PSD or AI file. A logo, a label, a poster, a screen. Whatever you want to show.
- The mockup file, unzipped. Most downloads come as a ZIP. Right-click it and choose Extract All (Windows) or double-click it (Mac) before you do anything else.
One thing to know early: free alternatives that open PSD files can show a mockup, but most of them struggle with smart objects. If the file is built for Photoshop, use Photoshop and save yourself the headache.
Step 1: Open the PSD and find the smart object
Open the .psd file. Now look at the Layers panel (Window > Layers if you can’t see it). Designers usually make this easy for you. Look for a layer or folder with a name like Your Design Here, Place Artwork, Edit Me or Double Click. It’s often at the top and sometimes coloured red or green.
A smart object layer has a tiny page icon in the corner of its thumbnail. That little icon is how you know you’ve found the right one.
Step 2: Double-click the smart object thumbnail
Double-click the thumbnail, not the name. Double-clicking the name only lets you rename the layer, which is the number one reason people think a mockup is broken.
Photoshop opens a new tab. This is a separate flat file (a .psb) that holds just the artwork. It usually shows the designer’s sample design, sometimes with a note saying “place your design here”.
Step 3: Put your design in
In the new tab:
- Go to File > Place Embedded and pick your design file. Or just drag it in from a folder.
- Hold Shift while you drag a corner to resize it, so it doesn’t stretch. In newer versions of Photoshop, proportional scaling is the default and Shift does the opposite, so if it starts stretching, let go of Shift.
- Press Enter to confirm.
- Hide the designer’s sample layer by clicking the eye icon next to it. Don’t delete it yet. You might want it for reference.
Fill the whole canvas if your design is meant to cover the product, like a full-print t-shirt or a phone screen. For something like a logo on a bag, leave the empty space around it. The canvas size is the printable area, so if the logo looks too big here, it will look too big on the bag too.
Step 4: Save and close
Press Ctrl + S (Cmd + S on a Mac), then close the tab. Go back to the main mockup tab and your design is now on the product, bent around the shape, with the shadows and light on top. That’s the part that feels like magic the first time.
If nothing changed, you probably closed without saving. Open the smart object again, save, close.
Step 5: Change colours and background
Most good mockups let you change more than the artwork. Look through the layers for:
- Background colour: a solid colour fill layer. Double-click its thumbnail and pick a new colour.
- Product colour: the shirt, the box, the mug body. Usually a colour fill or a hue layer clipped to the product.
- Shadows and highlights: turn their opacity up or down if the effect is too strong for your design.
- Extra items: plants, coffee cups, pens. Hide them with the eye icon if they pull attention away from your work.
Each download page on our site lists what the file lets you change, so you can check before you download.
Step 6: Export the final image
Use File > Export > Export As, choose JPG for photos or PNG if you need a transparent background, and set the size. For a portfolio or a client email, 2000 px wide is plenty. For social media, 1080 px wide is the usual size.
When something goes wrong
My design looks blurry
The design file is smaller than the smart object canvas. If the canvas is 3000 px wide and your logo is 400 px, Photoshop stretches it. Use a bigger PNG, or better, place the original vector file (AI, PDF or SVG) so it stays sharp at any size.
The colours look dull or different
Check the colour mode in Image > Mode. Mockups are normally RGB. If your design is CMYK, it can look flat after you place it. Save a copy of your design in RGB for the mockup and keep the CMYK version for print.
The design sits in the wrong spot or is cut off
You placed it at a different size from the canvas. Open the smart object, check the edges of the canvas and move your design inside them. Some mockups mark a safe area with guides. Turn guides on with View > Show > Guides.
Double-click opens the Layer Style window
You clicked the empty area of the layer, not the thumbnail. Aim right at the small picture.
Photoshop says the file needs a newer version
Some mockups use features from recent releases. Update Photoshop, or look for a mockup that lists an older version as compatible.
Small things that make mockups look better
Pick a mockup where the lighting suits your design. A dark, moody scene fights with a bright pastel brand. Match the mood and the result looks real without any extra work.
Don’t use five different mockups with five different light setups for one project. If you’re presenting a brand, try to keep the scenes from the same designer or at least in similar light. It reads as one project instead of a pile of downloads.
And keep the file names tidy. When a client asks for “that bag picture with the green logo” three weeks later, you’ll be glad you saved it as client-name-tote-green.jpg and not Mockup_FINAL_2.jpg.
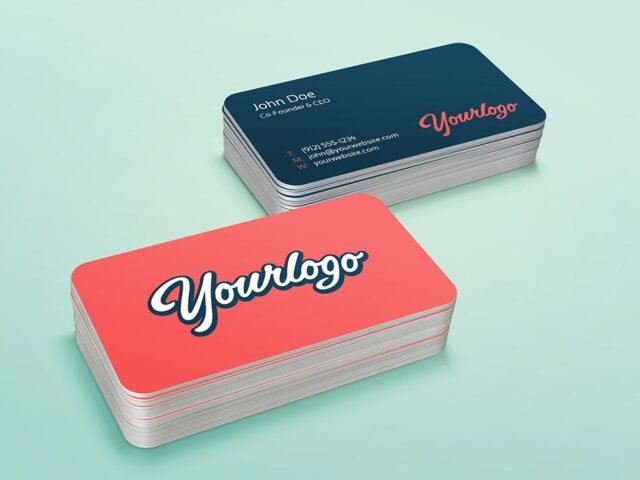
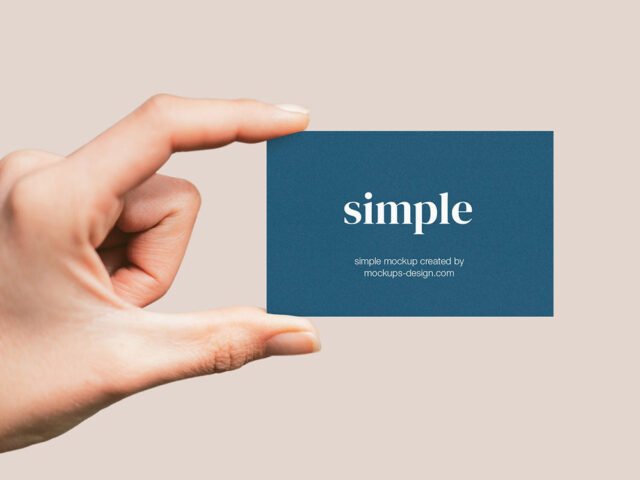
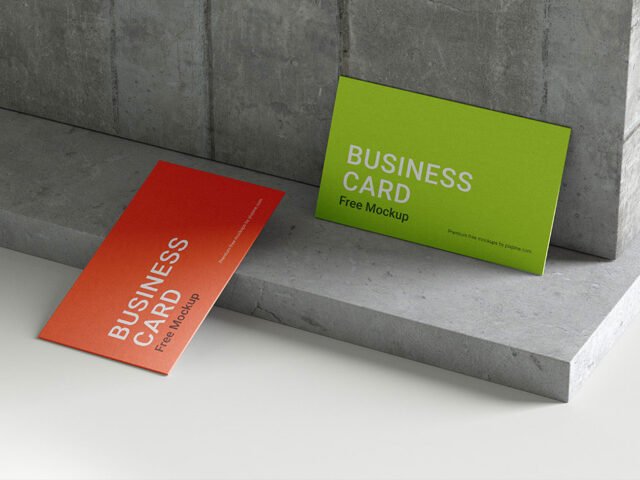
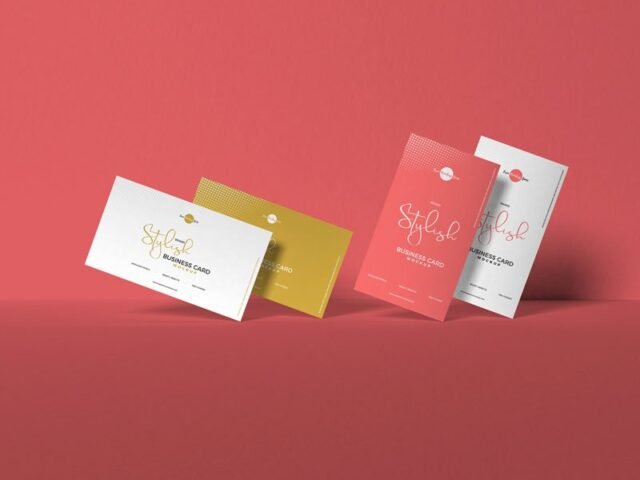
Try it with a business card mockup
Quick answers
Can I use a PSD mockup without Photoshop?
You can open some of them in other editors, but smart objects often don’t work properly outside Photoshop. For a mockup built around smart objects, Photoshop is the tool that gives a clean result.
Can I use free mockups for client work?
It depends on the licence. Many free mockups allow commercial use but not reselling the mockup file itself. We show the licence on every download page, and the designer’s own page has the final word.
Why do I have to wait before the download starts?
We link straight to the designer’s own page so they get the visit and the credit. The short wait just keeps our page light and lets us keep the site free.
Where do I find more mockups?
Start with the latest mockups or browse by product, like t-shirts, boxes or iPhone screens.